Install Munin On Ubuntu 10.04
Munin is a networked resource monitoring tool that can help analyze resource trends and “what just happened to kill our performance?” problems. It is designed to be very plug and play. A default installation provides a lot of graphs with almost no work.
Install
To start this tutorial you will need a web server, both Lighttpd and Apache will do the job. For this tutorial I will use Lighttpd which is available from the Ubuntu Repositories.
sudo aptitude install lighttpd
You will also need PHP installed on the system.
sudo aptitude install php5-cgi
Since Munin will be running on only one system we will need the master and client installed on the same system.
sudo aptitude install munin munin-node
If you would like to have munin notify you when something moves from OK to another state (or back again) you’ll want to set up email notifications. you’ll need to do this by editting the /etc/munin/munin.conf file.
sudo nano /etc/munin/munin.conf
and insert the following lines according to the instructions in the comments:
# Drop [email protected] and [email protected] an email everytime
# something changes (OK -> WARNING, CRITICAL -> OK, etc)
#contact.someuser.command mail -s "Munin notification" [email protected]
#contact.anotheruser.command mail -s "Munin notification" [email protected]

contact.yourname.command mail -s "Munin notification" [email protected]
And now you can start Munin.
sudo start munin-node
sudo apache2ctl graceful
After installing munin, you can access it from 127.0.0.1/munin. But, it's forbidden if accessed from another like domain/munin.
To solve this problem, edit /etc/munin/apache.conf.
Change Allow from 127.0.0.1 ::1 into Allow from all
Restart your apache and see if munin can accessed now.
Munin can be accessed by pointing the web browser to:
http://your-ip.com/munin
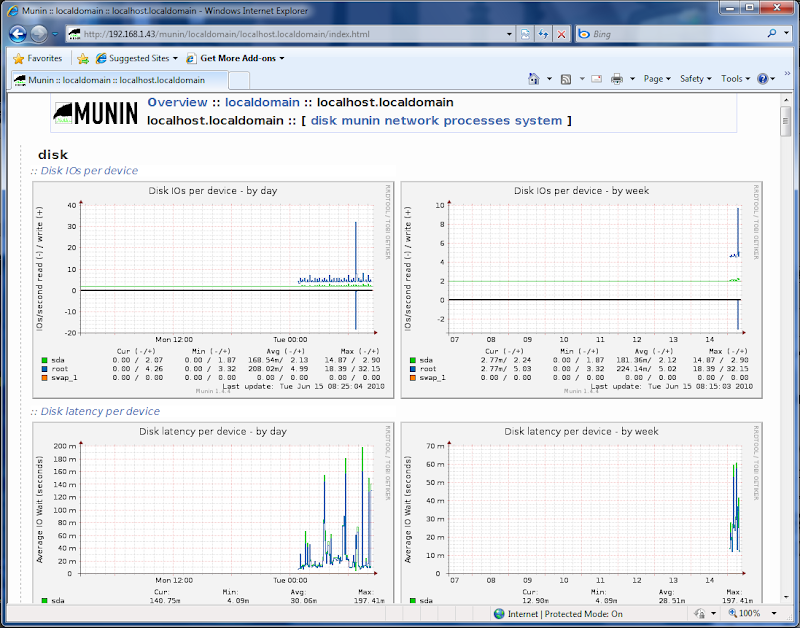
Remember that it will take a long time for Munin to display any meaningful information, be patient.
Comments
Mathew Branwell
Thu, 04/26/2012 - 18:06
Permalink
Then, we can enable some
Then, we can enable some plugins (more plugins can be found here and here). To do this, we need to create a symbolic link per each plugin we want to activate. I’m going to enable apache and mysql modules, but you are free to enable the modules you need:
$ cd /etc/munin/plugins$ sudo ln -s /usr/share/munin/plugins/apache_* .
$ sudo ln -s /usr/share/munin/plugins/mysql_* .
Each time a module is enable or disable, we need to restart the service, so we can do the following:
$ sudo /etc/init.d/munin-node restart
Also, it is recommended to reassign all files on the htmldir to munin user and group by doing:
$ sudo chown munin.munin -R /var/www/munin
http://www.debianadmin.com/monitor-servers-and-clients-using-munin-in-ub...
http://netkiller.github.com/monitoring/munin.html
http://www.darkcoding.net/software/setting-up-munin-on-ubuntu/
http://linux.justinhartman.com/Server_Monitoring_with_Munin_and_Monit
And then, to avoid waiting 5 minutes until munin cron runs again, we force it by:
$ sudo /usr/bin/munin-cron --force-root
Add new comment